We often get requests to “3D print” something, an image or sketch or what have you where the client asks this simply to be “fabricated”. In our simple 3 step process: Client submits a new project New project is 3D Designed (client is provided the 3D Design files, e.g. *.STL) Project is Fabricated (e.g. 3D Printed) This request effectively translates into “please start at step #1, skip step #2, and then proceed to step #3.” As of this writing, there is no automated process that we’re familiar with that can automate step #2 and thus, it requires some human involvement to transform the client request into the 3D CAD Design file that is needed to “3D Print” or fabricate in any number of digital fabrication methods. We are actively pursuing research to support our Design Acquisition System (DAS) but it’s not ready for prime time…yet. But do not worry, there is still hope for your project! Our 3D Design network is
Why read this article? Because if you are who we think you are, investing 10 minutes of your precious time now to read this article will save you a lot of time in the future as you bring your idea to life. This is a two-part article which will walk you through five essential parts of the You3Dit Process: Who is a Maker in the You3Dit Network? (Part 1) How much does it cost (Part 1) Creating a Project (Part 1) Getting your idea designed in 3D (Part 2) Getting your new 3D Design fabricated (Part 2) Part 2: The Design and Fabrication Processes In this article we’ll cover the important topics of: Reviewing Design Quotes Choosing Designers Iterating Reviewing Fabrication Quotes Choosing Fabricators The “First Fab” and Getting your Parts Delivered Designer & Fabricator Ratings
Why read this article? Because if you are who we think you are, investing 10 minutes of your precious time now to read this article will save you a lot of time in the future as you bring your idea to life. This is a two-part article which will walk you through five essential parts of the You3Dit Process: Who is a “Maker” in the You3Dit network? (Part 1) How much does it cost (Part 1) Creating a Project (Part 1) Getting your idea designed in 3D (Part 2) Getting your new 3D Design fabricated (Part 2) But first…
Now that you’ve registered as a Designer on our brand-new, fully-functional Beta Platform, here are some key steps you can take to become a Master: Completing your You3Dit profile Submitting compelling Design Quotes Mastering Design Iterations Designing with digital manufacturing in mind Being proactive and “wowing” the client Designers who take these steps get more gigs, improve their design skills more quickly and in general, earn more money from You3Dit. We’re also highlighting current BETA WORKAROUNDS that you can use to be more successful while the platform is “under construction”.
It all started back in June 2016 with a “hey, what if we did this…” Now, we’re giving away motorcycles, 3D printers, CAD software licenses and more to those who enter to win and participate in what we’re calling “SF Mototype”. Why? Because we believe everyone has untapped creativity that can be unleashed through Computer Aided Design (CAD) and 3D printing. On September 10th, we’ll kickoff this all-new retail experience where for 45 days, anyone can become their own motorcycle part / component creator. Yes…anyone. At the end of these 45 days, panels of experts will evaluate each submission and prizes* will be awarded to concepts, designs and fabrications which really engender the spirit of this event: anyone should be able to create and build their own motorcycle parts and components…a.k.a. mototypes. You3Dit and SF Moto have teamed up with a number of industry collaborators to enable people to Make Anything, Anywhere (see partners / sponsors below). HERE’S HOW THE PROCESS WORKS: 1. You have an idea
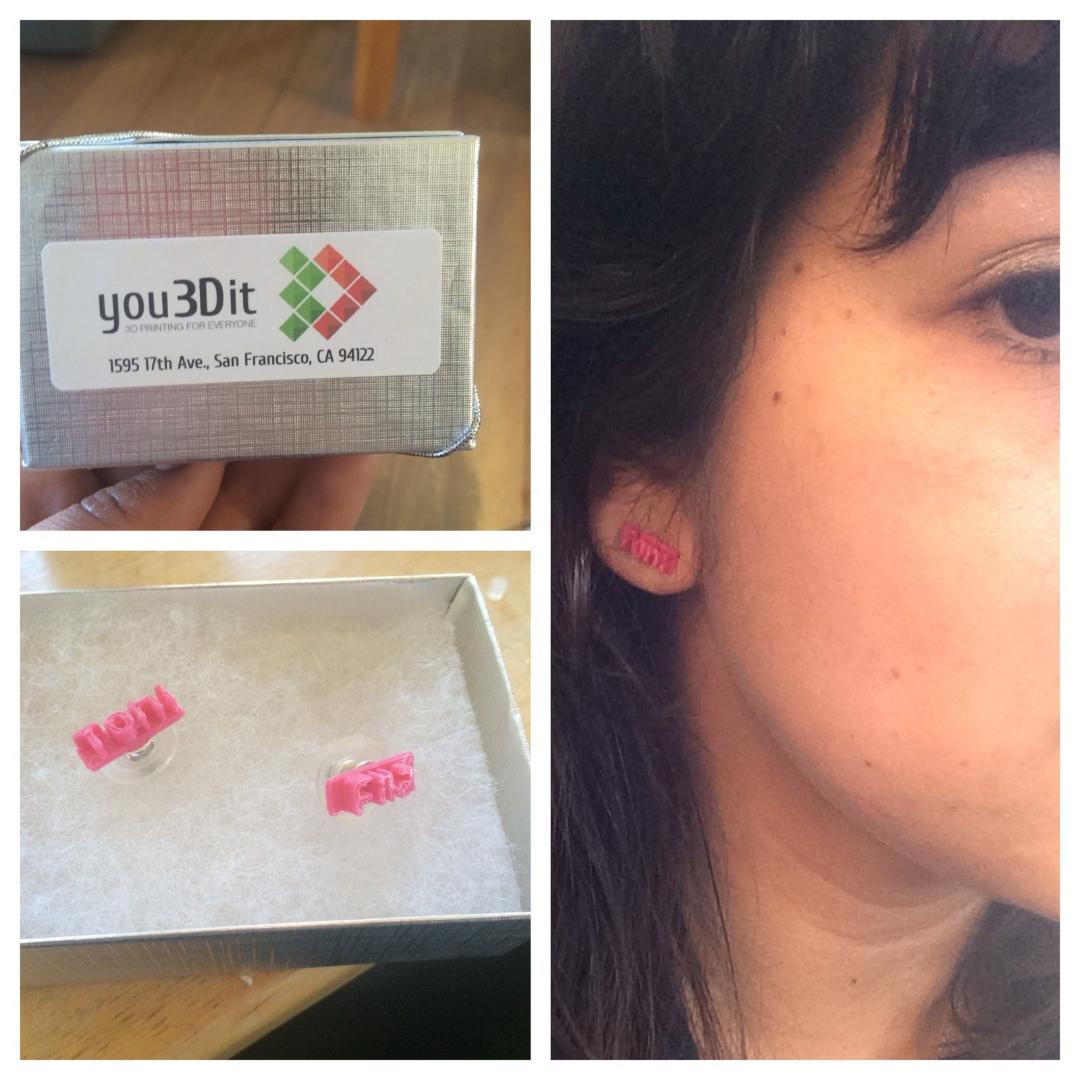
Preschool teacher Kate Brehob is wonderful with kids. Everyone who has met her knows this. What we didn’t know–possibly herself included–is that she can also design sweet customized jewelry that is ready to 3D print.
Showing how her new personalized earrings will look.
The back story:
My cousin is naming her second baby for my grandmother. She named her first child after her mom so now there is going to be a new generation of sisters with these same names. I thought it was such a sweet idea and I wanted to give her something she wouldn’t find anywhere else that also had meaning. I decided to create stud earrings with each daughter’s name on them. I also thought they would be cute as stud earrings because both names have four letters each. The next step was just to figure out how to get tiny custom stud shaped names!
-Katherine, San Francisco, CA
Using TinkerCAD–an entry-level computer-aided-design (CAD) software–and the You3Dit network, Katherine was able to quickly able to make the earring parts which she then cemented to blank, earring studs. We sent her this CAD tutorial from Hands-on Rapid Innovation to help her get started.
“TinkerCAD was pretty easy to use, but I’m not used to working in millimeters” said Brehob. Most engineers and scientists prefer the metric system and regularly push using these units (as demonstrated in TinkerCAD), however, people living in the U.S. are typically more familiar with the inch, pound and quart units of measurement. Thus, if you’re struggling to figure out the size / scale of your project, consider downloading and printing one of these “to-scale” rulers. Additionally, we worked with Ms. Brehob to tweak the z-dimension height so that the earrings came out a just the right thickness so simply work with your designers.
“The first set turned out pretty good, but I think I’m going to add hearts or something to hide the backing of the stud” said the preschool teacher. This observation was made after she had received the first set of prints. “This is exactly the benefit of quick & easy access to rapid prototyping tools like 3D printers” said Chris McCoy, co-founder of You3Dit. “3D printers unlock creativity via rapid iteration” which allows for faster convergence on final solutions and allows the mind to explore many solutions without a lot of cost (time, money, effort).
3D printers are not the end-all, be-all solution for everything–we know this. But if you show people their potential and how easy it is to get started, people can start to see their real value beyond just a mini widget factory. Since people are not yet used to having extreme personalization in their lives, they don’t add 3D printing to their solution set for problems. This is one of You3Dit’s main goals: highlighting the potential of desktop manufacturing, educating people about how the technology works and then, providing people access to these machines that can help bring their ideas to life.
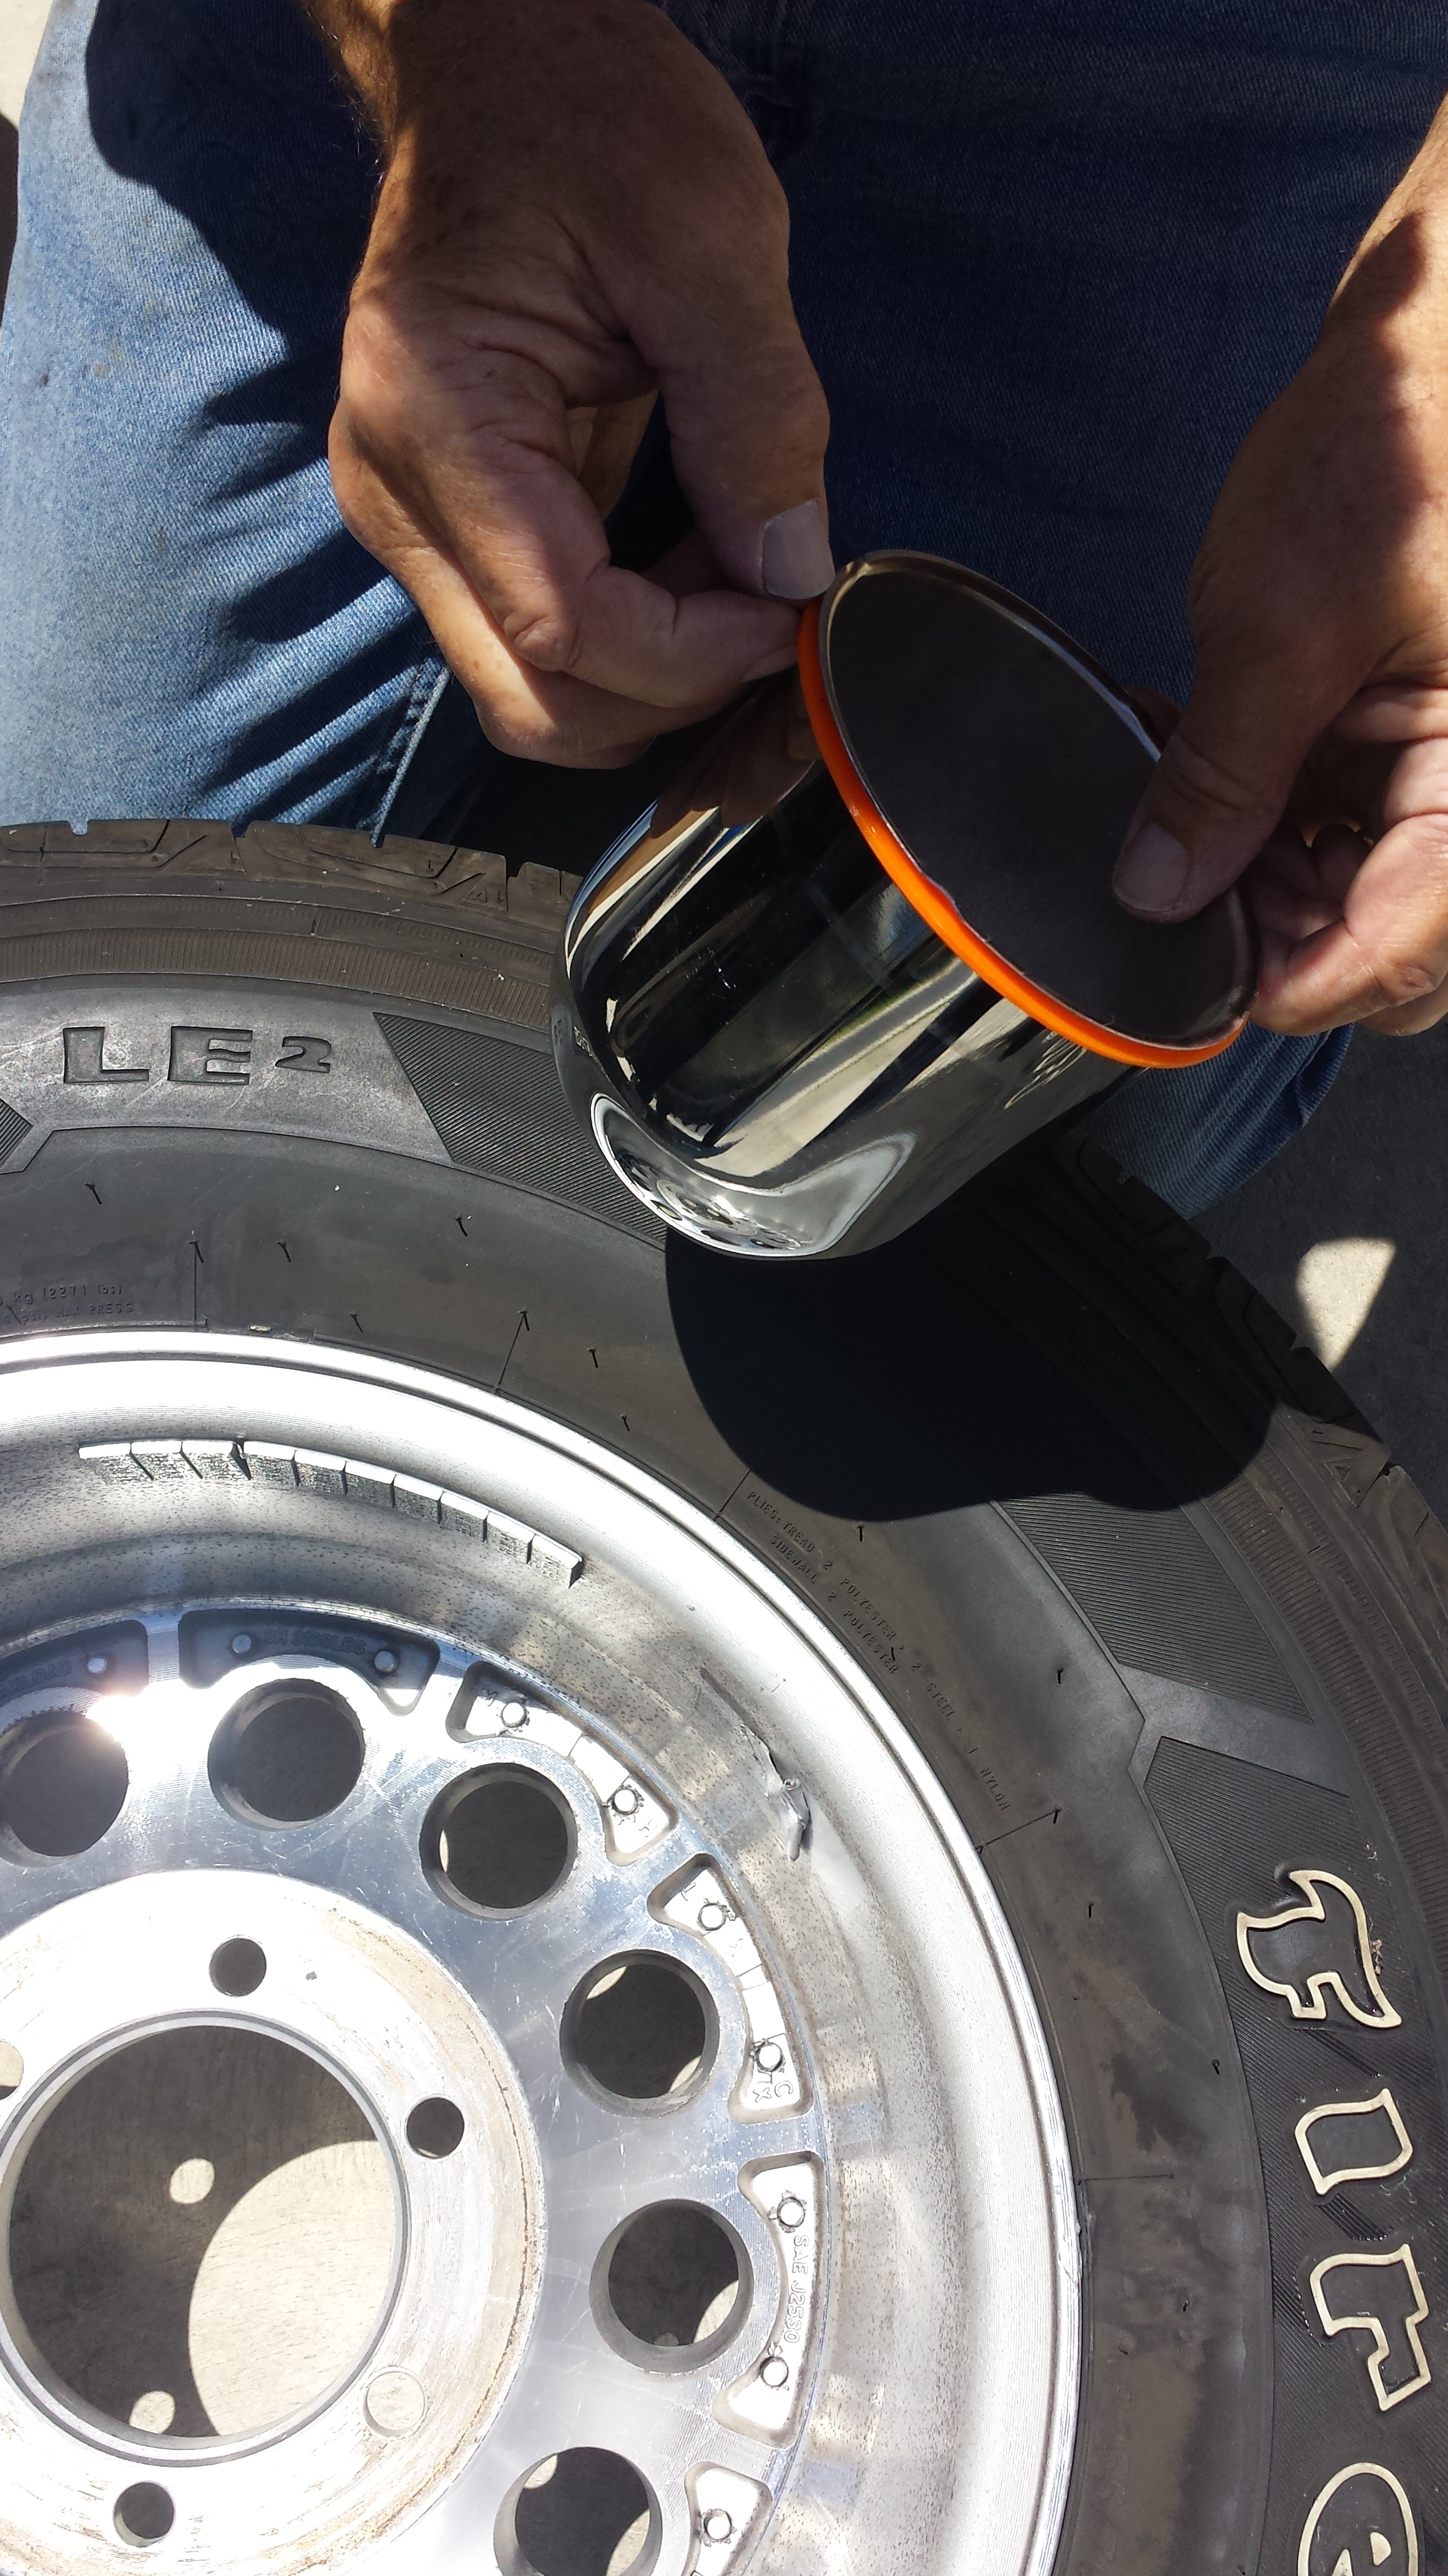
So as we often explain the myriad possibilities of 3D printers for an uncountable number of potential applications, we reel in our audience’s minds by grounding our expectations with “well, I’m not about ready to 3D print my car axle…but there are tons of applications…” While I didn’t 3D print my axle just quite yet, we did 3D print some rim spacer clips in order to eliminate slop between the brake disc and the rim’s decorative center piece.
Why was this even a problem? No one looks cool driving a car that has wacky noises coming from the vehicle. Vehicle sounds are a big part of the driving experience (ask Tesla motors) and while no one should define themselves by the car they drive, no sense in letting it be when the You3Dit network has design and 3D printing resources to easily resolve the issue.
The workflow was pretty simple:
A thin ring that would fit between the wheel hub and the decorative piece
Measure the critical dimensions of the wheel
Transform the sketch into a CAD model (a process called solid modeling)
Export design to STL
Slice and drive 3D printer using Repetier
Test spacer ring on vehicle
Modify dimensions as necessary
Repeat
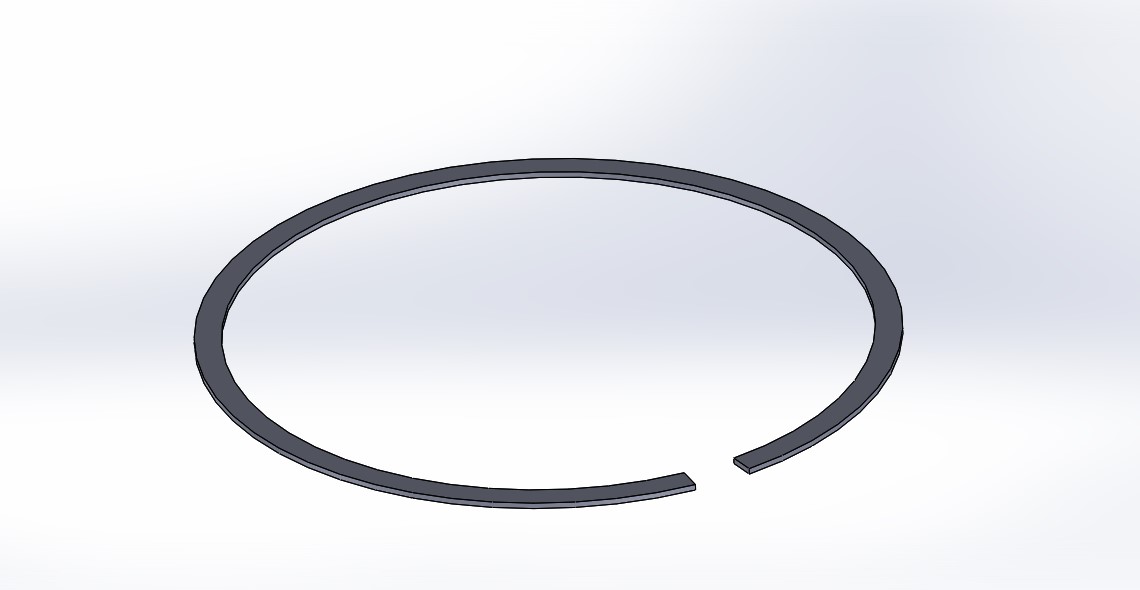
Once we iterated 2-3x, we had a part that worked. The first two were too thick. We made the ring into a “U” shape to allow for slop in wheel dimensions, increasing the likelihood that the part would solve the problem.
How the Rim Spacer Ring fits onto the rim and decorative piece.A screenshot of the SolidWorks CAD model we used to print the ring.
If you yourself have the same problem with a pesky aftermarket rim, or you’d like to use this file for any other purpose, we’ve uploaded our SolidWorks and STL parts to Thingiverse.com. The rims featured in this video were purchased from Pepboys are 1097 Proline Wheels.
UPDATE (May 30, 2015):
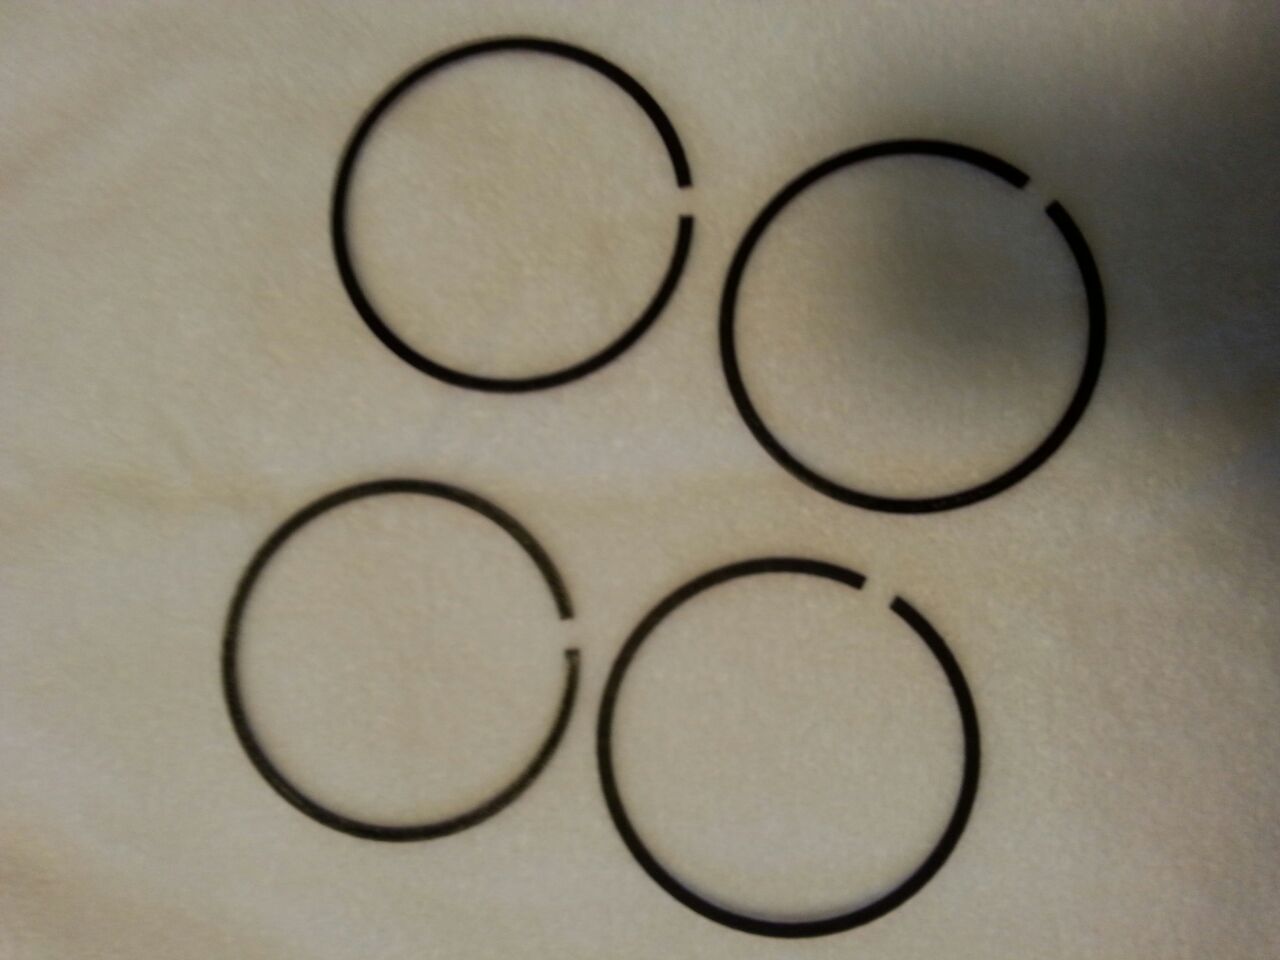
So the rims and tires handled just perfectly for the last year with the 3D printed rim spacers as designed…and as expected. However, it wasn’t until the service guy rotated the tires when they fell out and the wheels were re-assembled without the spacers. Houston…we have a problem? Or do we? Not really, because the wife of the old man who owns the truck has a 3D Printer–A Printrbot Simple Metal!
So with the help of this article (and Thingiverse’s kind gesture of hosting the files), she was able to re-download the STL and 3D print another set.
These were the replacement rim spacers 3D printed by a rather handy grandmother and mother of a 3D printing enthusiast (Chris–the co-founder of You3Dit).
So, just when you thought these 3D printing machines were just for younger kids great with computers, think again (note: the woman who did 3D print these is pretty amazing and is pretty darn resourceful for someone of her generation…especially with respect to technology).